Do you remember the post how to make a flower corner in your home? Here is another creative idea how to decorate your home for the spring. Shanty-2-chic blog give us tip how to make a vase on the wall. This could be an accent in your living room or bedroom decoration. Or you can hang the vase outside and to decorate your balcony. This craft idea is cheap and easy to make. Enjoy it!

You will need pine planks - if you don't have pine planks, use planks from any old dressers or cupboards, saw, two acrylic or latex paints (one darker and one lighter), vaseline, sandpaper, beautiful jar (or bottle), metal mount, metal fittings, screws.
How to do it yourself:
Step 1 Cut the pine plank in desired size with saw. Then use sandpaper to clean and round the edges and corners of the plank.

Step 2 Paint the plank. First lay the darker paint at the edges of the plank. Wait to dry and let the vaseline on the edges. Put the lighter paint and wait to dry. Use sandpaper for the edges.

Step 3 When the painting process is completed and the basis for the vase has dried well, proceed to mounting the bottle. You wiil need metal fittings - fasten them with self-tapping screws.
And this is what you get! Amazing decor for your home!

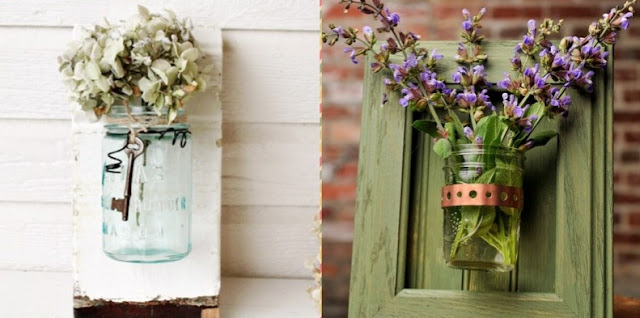
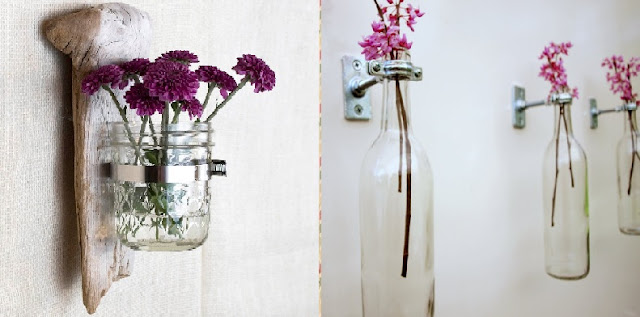
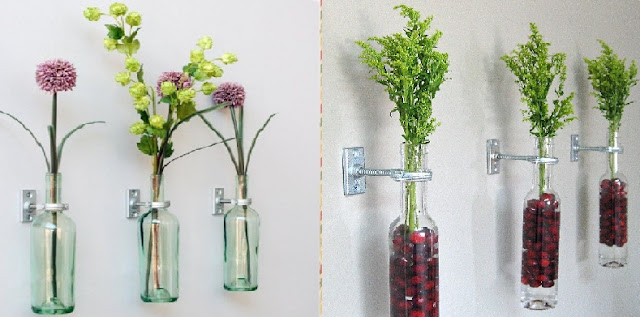
Did you like it? Some more ideas for vases on the wall.





You will need pine planks - if you don't have pine planks, use planks from any old dressers or cupboards, saw, two acrylic or latex paints (one darker and one lighter), vaseline, sandpaper, beautiful jar (or bottle), metal mount, metal fittings, screws.
How to do it yourself:
Step 1 Cut the pine plank in desired size with saw. Then use sandpaper to clean and round the edges and corners of the plank.

Step 2 Paint the plank. First lay the darker paint at the edges of the plank. Wait to dry and let the vaseline on the edges. Put the lighter paint and wait to dry. Use sandpaper for the edges.

And this is what you get! Amazing decor for your home!

Did you like it? Some more ideas for vases on the wall.


Idea: Shanty-2-chic
Photos: Shanty-2-chic, Made-Self (ru), Internet
More { spring decor ideas }

grt
ReplyDelete