Photography at home gives it warmth and coziness. Everytime when you look at the pictures it will revoke happy memories, forgotten emotions and passions. To make a master-piece in your home you have to carefully choose the photos and how they will be displayed.
First of all, choose the most beautiful pictures of yours. It will be better if they are artistic or at least with good quality. Forget about pictures like "me with my prom dress on a background of trees" or "me and my family at the New Year's table with lot of red eyes and mineral bottles".
When you are choosing the place to display the photos you have to decide if it will be private or public. If you prefer the pictures to be seen by your friends - decorate the living room, the entrance hallway or the stairs. If you prefer to keep the memories just for yourself - you can display the pictures on your working desk, at your bedroom etc. In both cases, be sure that the place is well lit!
Here are some ideas how to display your pictures:

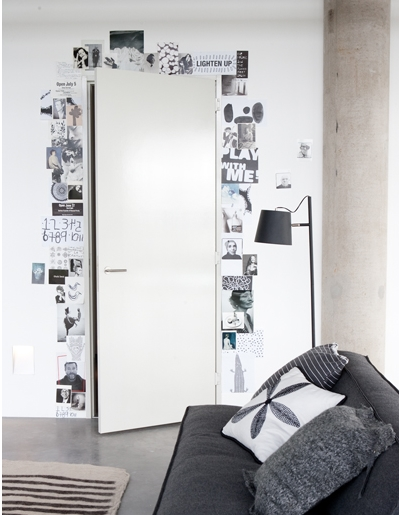


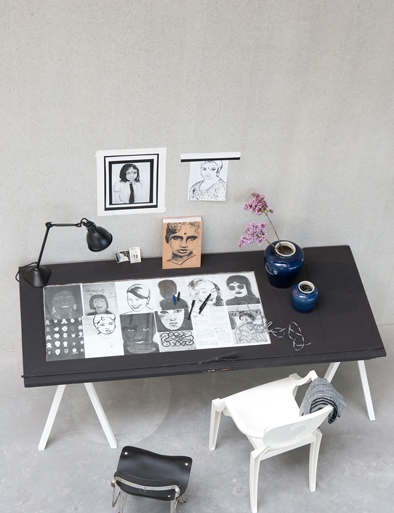


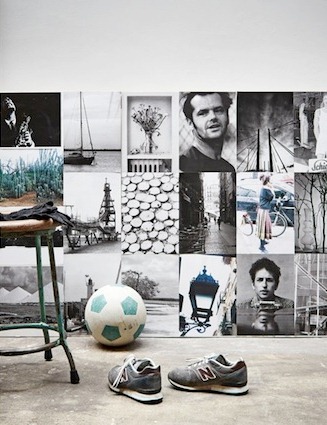

As for the color palette - the black and white photos look more stylish on the wall. But if you prefer colored pictures here some tips from the colorists:
* on light wall color bright frames look amazing
* on bright wall use light frames
* frame will not merge the wall if it is a few shades darker than the wall
* the contrast is always good (bright wall - dark frame; dark wall - bright frame)
* don't use bright frames for dark photos - they will look darker.
For { more ideas for frame decoration }

First of all, choose the most beautiful pictures of yours. It will be better if they are artistic or at least with good quality. Forget about pictures like "me with my prom dress on a background of trees" or "me and my family at the New Year's table with lot of red eyes and mineral bottles".
When you are choosing the place to display the photos you have to decide if it will be private or public. If you prefer the pictures to be seen by your friends - decorate the living room, the entrance hallway or the stairs. If you prefer to keep the memories just for yourself - you can display the pictures on your working desk, at your bedroom etc. In both cases, be sure that the place is well lit!
Here are some ideas how to display your pictures:

Photo: vtwonen (nl)

Photo: vtwonen (nl)

Photo: vtwonen (nl)

Photo: vtwonen (nl)

Photo: vtwonen (nl)
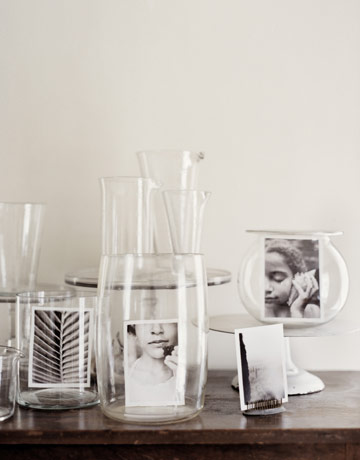
Photo: Home Life (aus)

Photo: Elle Decoration

Photo: Inside Out

Photo: Desiree Vosges Paris

Photo: vtwonen (nl)

Photo: House Doctor
As for the color palette - the black and white photos look more stylish on the wall. But if you prefer colored pictures here some tips from the colorists:
* on light wall color bright frames look amazing
* on bright wall use light frames
* frame will not merge the wall if it is a few shades darker than the wall
* the contrast is always good (bright wall - dark frame; dark wall - bright frame)
* don't use bright frames for dark photos - they will look darker.
For { more ideas for frame decoration }

Comments
Post a Comment