Posts Ad

DIY Amazing appliqued Cushions Part 3

diy textile print

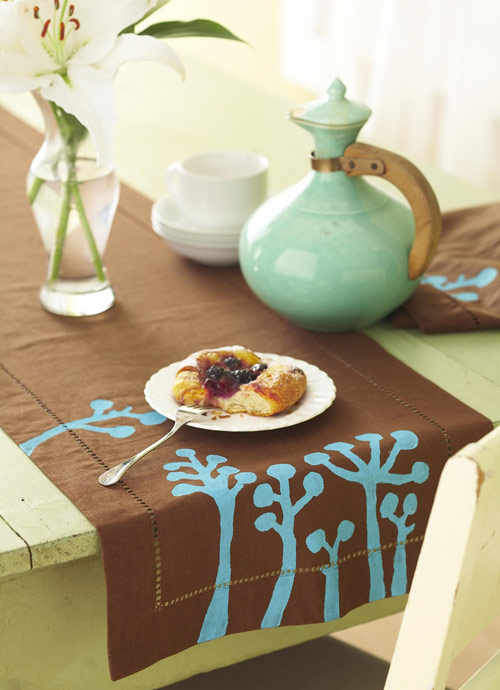
Another interesting idea how to make textile print by yourself. Enjoy!

So the materials you need are piece of cloth for the sieve (tulle or nylon but never silk), frame, decoupage glue, textile paint, paint brushes and window rubber squeegee.

First of all you have to prepare the sieve, so...

diy textile print

Step 1 Place the cloth on the table. Then place the frame over the cloth in the center. The frame shall be a little bigger than the selected design. Pull the end of the fabric to the edge of the frame and put a decoupage clue on it. Wait 10 minutes to dry well. Stretch well the fabric by pulling the opposite end and stick it to the edge with decoupage glue. Similarly, attach the other two sides of the cloth. When the glue is dry, trim excess fabric.

Step 2 Choose the design you are going to use. Place the print on the table, then place the sieve over the paper so the textile is on top of the paper. Draw the design onto the fabric with soft pencil but be careful not to harm the cloth.

diy textile print

Step 3 Turn the frame with face up. Use a brush to apply decoupage glue on those places you don't want to be shown. Allow the glue to dry. Then check for little holes through which paint could pass.

Step 4 Place the tissue you would lke to decorate and iron it well. Afterwards put the sieve with face down. Pour some paint on the side of the fabric design.

Step 5 Use window rubber squeegee to even spread the paint. When you are ready lift the sieve and let the paint dry. Wash the sieve only with water (no needed brush or soap) and you can use it again.

Idea: DIY Ideas


diy home decoration

Comments

Post a Comment

Popular posts from this blog

10 Unique Ideas for Photo Frames

We all enjoy our precious moments and collect them. That is some of us try to transform our homes into a mini photo gallery . There are so many ways to make your project. Unfortunatelly most people prefer do it the easiest way - they buy ordinary photo frames and hang them around the house. Somethims this is not the best solution. So, here are some tricks how to make a creative photo gallery in your home. 1. Handmade stylish photo frame How-to-make-it tutorial by Talia Christine . Simple, clever and magical, you can put as many of your favorite photos as you wish. Just grab some wooden strips and a paint you can make photo frame with nails and staples. Once you are done, tighten the threads of the empty frame and hang pictures using wooden pegs. For special effect, print the pictures using the "sepia" effect. 2. Pictures in jars Wondering what to use the old jars forgotten in the basement? Put some pictures in them and you have a unique photo frame . You ca...

Bring the Ladder!

Here are some creative ideas for decorating your home. Bring your old ladder from the garage and put it in the center of the living room. A little bit crazy, right? Idea: Oh My Goods Idea: Oh My Goods Idea: Oh My Goods Idea: Dying of Cute Idea: Beach Cottage Idea: Sarah Klassen Idea: Flor Idea: Homemade Simple Idea: Sarah Klassen Idea: Sarah Klassen Idea: Sarah Klassen More ladder decorating ideas

DIY Wall Decoration - Animal Trophy

Another wall decoration idea. Place an animal trophy head above the fireplace. Do you remember the deer head trophy project . Marie Claire Idees Magazine is giving us another very pleasant idea how to decorate your wall especially if you are good in sewing. The Magazine is presenting three types of heads - deer, ibex and ram head. The average size of the heads is about 30cm (excluding the horn). Materials needed: woolen cloth (1 x 1,40m for each head), fine cloth for the horns and for the frame, thread & needle, syntetic stuffing, oval from fiberboard (45 cm height & 33 cm large), 3 brackets, cloth glue and stapler. Step 1 Print the patterns in the indicated scale. Outline the patterns on the cloth. Cut as many times as shown on the template. NOTE: Leave about o,5 cm around every piece for the seam. Step 2 Sew the ears two by two by leaving the bottom open. Iron the ears. Repeat it with the horns. Then fill the horns with stuffing. Step 3 (see the pattern) Sew part B to bo...